
Professional fence installation is a structured service that covers site evaluation, regulatory compliance, material selection, precise construction, and final inspection to deliver a durable, code-compliant fence. The industry term for this full-service approach is residential fence contracting, and understanding what it includes helps you avoid surprises, compare quotes accurately, and set realistic expectations before work begins. The American Fence Association and standards like the International Residential Code (IRC) 2021 define the benchmarks that separate professional work from a weekend DIY attempt.
What professional fence installation includes from start to finish
A professional fence installation follows a defined sequence. Skipping or rushing any phase is the primary cause of premature fence failure, and fence installation projects include site assessment, boundary confirmation, permitting, utility marking, excavation, post setting, panel installation, and final inspection. Each phase builds on the last, which is why the order matters as much as the execution.
Here are the core steps in the professional fence installation process:
-
Site evaluation and boundary confirmation. The crew reviews your property’s plat map and physically marks the boundary line before any digging begins. Installing even one post on a neighbor’s property can trigger legal disputes and force a full reinstall at your expense.
-
Permit acquisition. Under IRC 2021 and IBC 2021, permits are typically required when a fence reaches 6 feet in height. Your installer pulls the permit, not you. This protects you from code violations and ensures the project is inspected by a licensed official.
-
Utility marking. Before any excavation, the crew contacts 811 (the national “Call Before You Dig” service) to mark underground gas, water, and electrical lines. Hitting a utility line is dangerous and expensive. Professionals treat this step as non-negotiable.
-
Post hole excavation. Hole depth must account for the local frost line. In Charleston, SC, frost depth is minimal, but soil composition still dictates hole diameter and depth. Undersized holes are one of the most common installation mistakes, along with posts that are not plumb in two directions.
-
Post setting and concrete curing. Posts are set in concrete, checked for plumb with a level in two directions, and braced until the concrete cures. Professional installers wait 48 to 72 hours after pouring concrete before attaching rails or panels. Loading posts too early causes shifting that no amount of adjustment can fix later.
-
Rail and panel installation. Once posts are cured and confirmed plumb, rails are attached and panels are set. Spacing, alignment, and fastener type all vary by material.
-
Gate installation and hardware. Gates require precise alignment to swing freely without sagging. Hinges, latches, and self-closing mechanisms (required for pool fencing) are installed and tested.
-
Final inspection and project closeout. The crew walks the fence line with you, confirms the gate operates correctly, and provides warranty documentation.
Pro Tip: Ask your installer for the permit number before work begins. If they cannot provide one for a project that requires it, that is a red flag worth taking seriously.
How do materials and fence types affect professional installation?
Material choice shapes every phase of the fence installation process, from how posts are set to how long the project takes. Wood and vinyl have distinct handling requirements, and vinyl in particular demands special care to avoid scuffing and concrete splashes that permanently stain the surface.
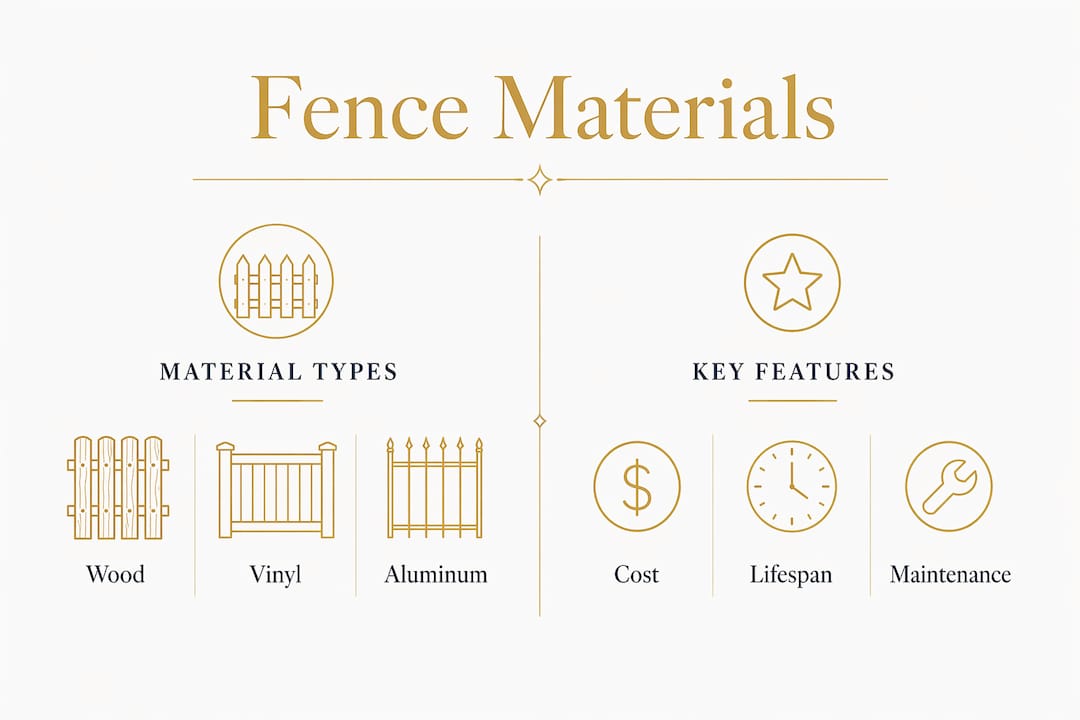
The five most common residential fence materials are:
- Wood (cedar, pine, pressure-treated): Natural, customizable, and cost-effective upfront. Requires staining or sealing every 2 to 3 years. Posts must be pressure-treated to resist ground moisture.
- Vinyl (PVC): Low maintenance and resistant to rot, but panels expand and contract with temperature changes. Installers must account for this movement during panel spacing.
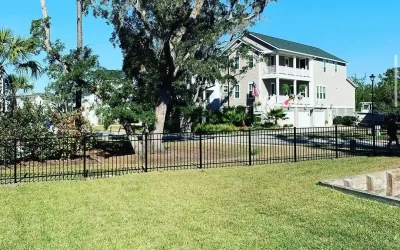
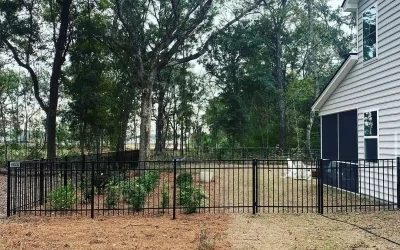
- Aluminum: Lightweight, rust-resistant, and ideal for decorative or pool fencing. Sections are pre-assembled and require precise post spacing to align correctly.
- Chain link: Fast to install and highly durable. Tension and post alignment are the critical variables. Often used for security and pet containment.
- Steel: The heaviest and most secure option. Requires anti-rust coating and professional welding or bolting for structural integrity.
Here is how these materials compare across the factors that matter most to homeowners:
| Material | Avg. cost per linear foot | Typical lifespan | Installation complexity | Maintenance level |
|---|---|---|---|---|
| Wood | $15 to $30 | 15 to 20 years | Moderate | High |
| Vinyl | $20 to $40 | 20 to 30 years | Moderate to high | Low |
| Aluminum | $25 to $40 | 30 to 50 years | Moderate | Very low |
| Chain link | $10 to $20 | 15 to 25 years | Low to moderate | Low |
| Steel | $30 to $60 | 50+ years | High | Moderate |
The material you choose also affects how long the project takes. Aluminum and chain link installations move faster because panels arrive pre-fabricated. Custom wood privacy fences take longer because boards are cut and attached on-site.
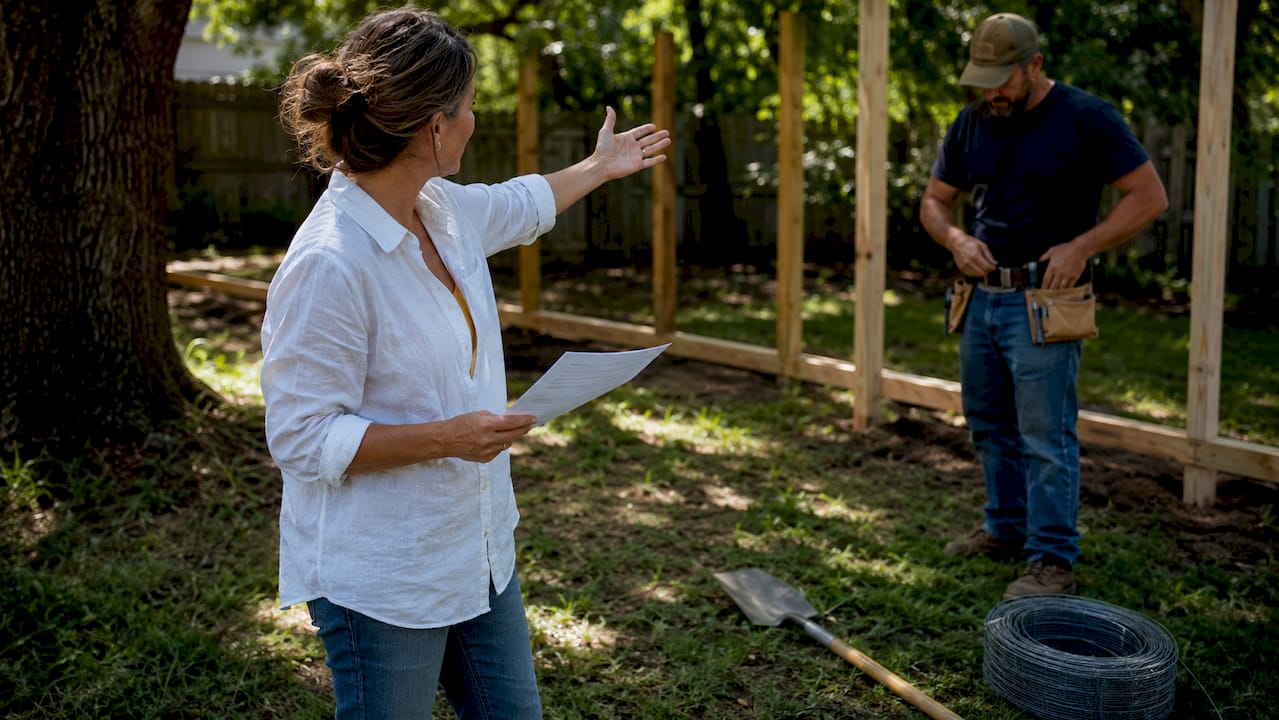
What are the benefits of professional installation versus DIY?
The case for hiring professionals comes down to speed, precision, and risk reduction. A professional crew installs 100 to 150 linear feet of wood privacy fence per day under normal soil conditions, meaning a 200-foot project wraps up in 2 to 3 days including curing time. DIY projects on the same scale routinely take 3 to 5 times longer. That time gap has real costs: rented equipment, wasted materials, and weekends lost to a project that keeps expanding.
Beyond speed, the quality gap is significant:
- Post precision. Post-setting quality dictates structural integrity. Posts must be plumb in two directions and braced during curing. Most homeowners lack the tools and experience to achieve this consistently across 20 or 30 posts.
- Code compliance. Professionals know local permit requirements and build to IRC standards. A non-compliant fence can be ordered removed by your municipality.
- Warranty protection. Reputable installers back their work. DIY projects have no warranty, and material warranties are often voided by improper installation.
- Liability coverage. Licensed contractors carry insurance. If a post hits an unmarked utility line during a DIY project, the repair bill lands on you.
The American Fence Association’s training program covers nine detailed modules, which signals that fence installation is more technically demanding than it looks from the outside. That training gap is exactly where DIY projects tend to fail.
Pro Tip: Before accepting any quote, ask the installer whether they use subcontractors. Companies that use their own trained crews deliver more consistent results and are easier to hold accountable if something goes wrong.
What costs are typically included in professional fence installation services?
Fence installation costs include labor, materials, permits, site preparation, and optional features like gates or decorative elements. Prices vary by region, material, and project complexity, but knowing what each line item covers helps you evaluate quotes accurately.
The main cost components are:
- Labor: Crew size and project duration drive this number. Larger crews finish faster but cost more per day. Most residential projects involve 2 to 3 workers.
- Materials: The single largest variable. Wood is cheapest upfront; steel and vinyl cost more but reduce long-term maintenance expenses.
- Permits and inspection fees: These vary by municipality. In many South Carolina jurisdictions, permit fees for residential fencing run between $50 and $150 depending on fence height and linear footage.
- Site preparation: Clearing brush, grading uneven ground, or removing an old fence adds to the total. Always ask whether site prep is included or billed separately.
- Gates and hardware: Each gate adds labor and material cost. Self-closing, self-latching gates required for pool compliance carry a premium due to the specialized hardware involved.
- Utility marking coordination: Reputable installers handle this at no extra charge, but confirm it is included before signing.
When comparing quotes, watch for vague line items like “miscellaneous materials” or “site conditions.” A transparent quote itemizes every cost. Hidden fees are the most common complaint homeowners have after a fence project goes sideways.
Key takeaways
Professional fence installation requires site assessment, permit acquisition, precise post setting with full concrete curing, material-matched panel installation, and a final inspection to produce a fence that is structurally sound and code-compliant.
| Point | Details |
|---|---|
| Permits are non-negotiable | IRC 2021 requires permits at 6 feet; your installer should pull them, not you. |
| Curing time protects your investment | Posts need 48 to 72 hours to cure before panels are loaded to prevent shifting. |
| Material choice drives total cost | Wood costs less upfront; vinyl and aluminum reduce long-term maintenance expenses. |
| DIY takes 3 to 5 times longer | Professional crews install 100 to 150 linear feet per day; DIY rarely matches that pace. |
| Transparent quotes prevent surprises | Itemized quotes covering labor, materials, permits, and site prep are the standard to demand. |
What I’ve learned from watching fence projects succeed and fail
After reviewing dozens of fence installations across the Charleston area, the pattern is consistent: the projects that fail within the first three years almost always share one of two problems. Either the posts were not braced properly during curing, or the homeowner (or a cut-rate crew) skipped the permit process entirely.
The permit issue is more consequential than most people realize. A fence installed without the required permit is technically an unpermitted structure. When you sell your home, that shows up in the inspection. Buyers can demand removal or a price reduction. The $100 permit fee that seemed avoidable ends up costing thousands at closing.
The other thing I would tell every homeowner is this: the concrete curing window is not a suggestion. Premature loading of fence posts is one of the most misunderstood scheduling details in the entire process. Crews that skip the 48 to 72 hour wait to finish faster are essentially building on a foundation that has not set. You will not see the problem immediately. You will see it in year two when panels start leaning.
Selecting the right installer matters more than selecting the right material. A skilled crew can make pressure-treated pine last 20 years. A careless crew can ruin vinyl in five. Ask for references, confirm they pull permits, and verify they use their own employees rather than day laborers hired for the project.
Get your fence installed right the first time with Fenceproscharleston

Fenceproscharleston handles every phase of the professional fence setup described in this article, from boundary confirmation and permit acquisition to post setting, panel installation, and final walkthrough. Every project is completed by trained, background-checked employees. No subcontractors. No shortcuts. The company has earned over 300 five-star reviews from Charleston-area homeowners who needed privacy, security, and code-compliant pool fencing done correctly.
Whether you need a wood or vinyl privacy fence for your backyard or a code-compliant security fence for your property, Fenceproscharleston provides transparent quotes with no hidden fees and backs every installation with a comprehensive warranty. Schedule your free consultation today at fenceproscharleston.com.
FAQ
What does professional fence installation include?
Professional fence installation includes site assessment, boundary confirmation, permit acquisition, utility marking, post hole excavation, post setting with concrete curing, rail and panel installation, gate hardware, and a final inspection. The full process follows standards set by the American Fence Association and local building codes like IRC 2021.
How long does professional fence installation take?
A professional crew typically installs 100 to 150 linear feet of wood privacy fence per day, meaning a 200-foot project takes 2 to 3 days including the required 48 to 72 hour concrete curing period. Material type and site conditions affect the total timeline.
Do I need a permit for fence installation?
Most municipalities require a permit when a fence reaches 6 feet in height under IRC 2021 and IBC 2021 standards. A licensed installer pulls the permit on your behalf as part of the fence installation services they provide.
Why is concrete curing time so important?
Concrete footings need 48 to 72 hours to fully cure before rails and panels are attached. Loading posts too early causes shifting and misalignment that compromises the fence’s structural integrity for its entire lifespan.
What is the most cost-effective fence material for homeowners?
Wood is the lowest upfront cost at roughly $15 to $30 per linear foot, but vinyl and aluminum carry lower long-term maintenance costs. The right choice depends on your budget, aesthetic preference, and how much ongoing maintenance you are willing to do.